You can send an encrypted email using the Proofpoint plugin for Outlook, or by adding the keyword [encrypt] to the subject line of your email.
Encrypt your message using the Proofpoint plugin for Outlook
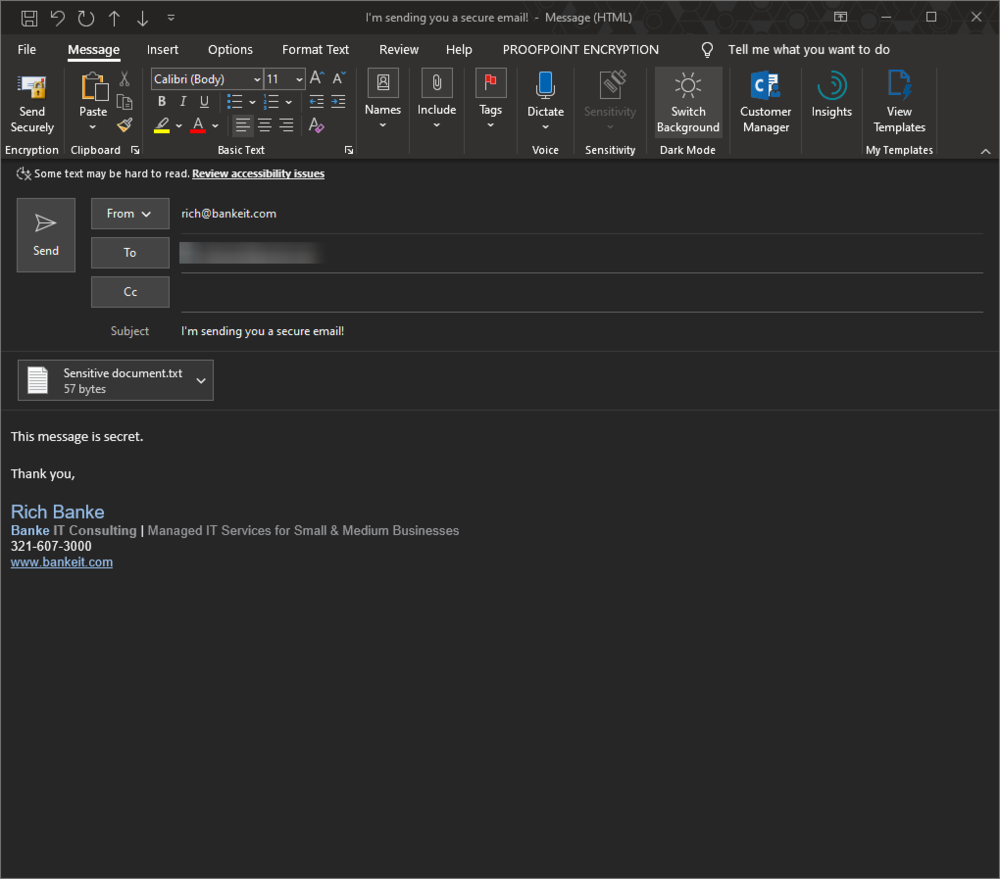
Create your email as you normally would. You can also attach files if you need.
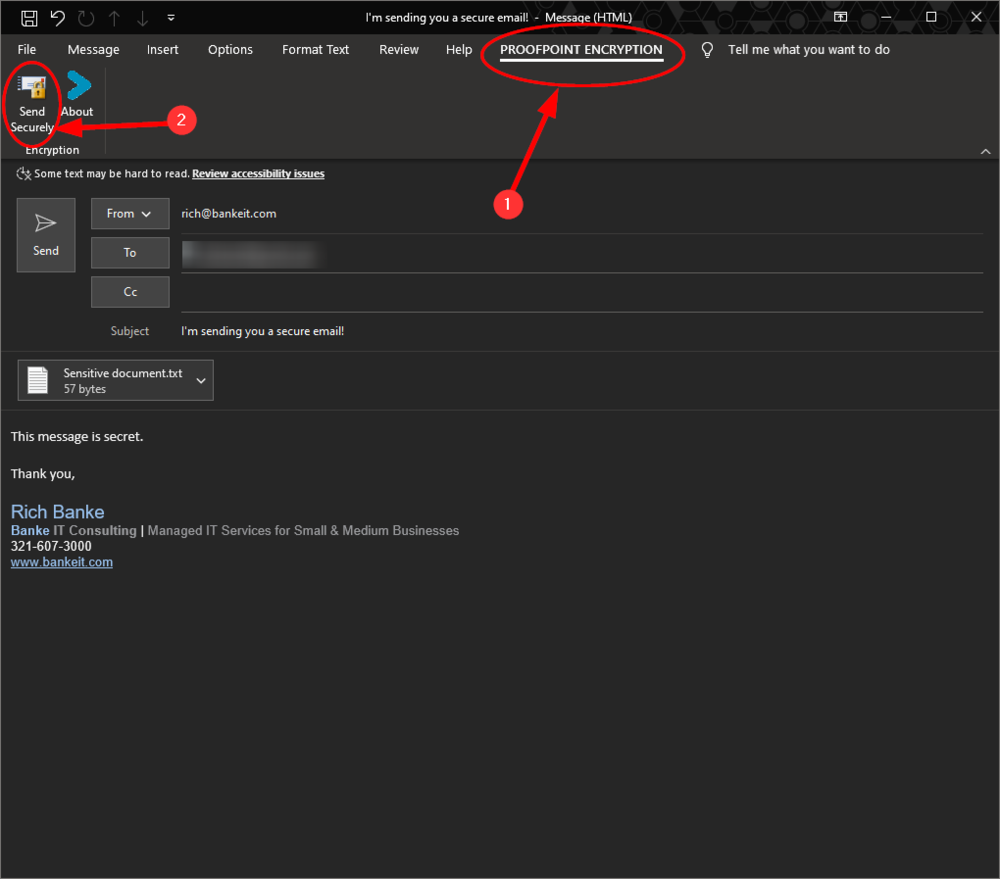
In the menu, click ‘PROOFPOINT ENCRYPTION’ and then ‘Send Securely’.
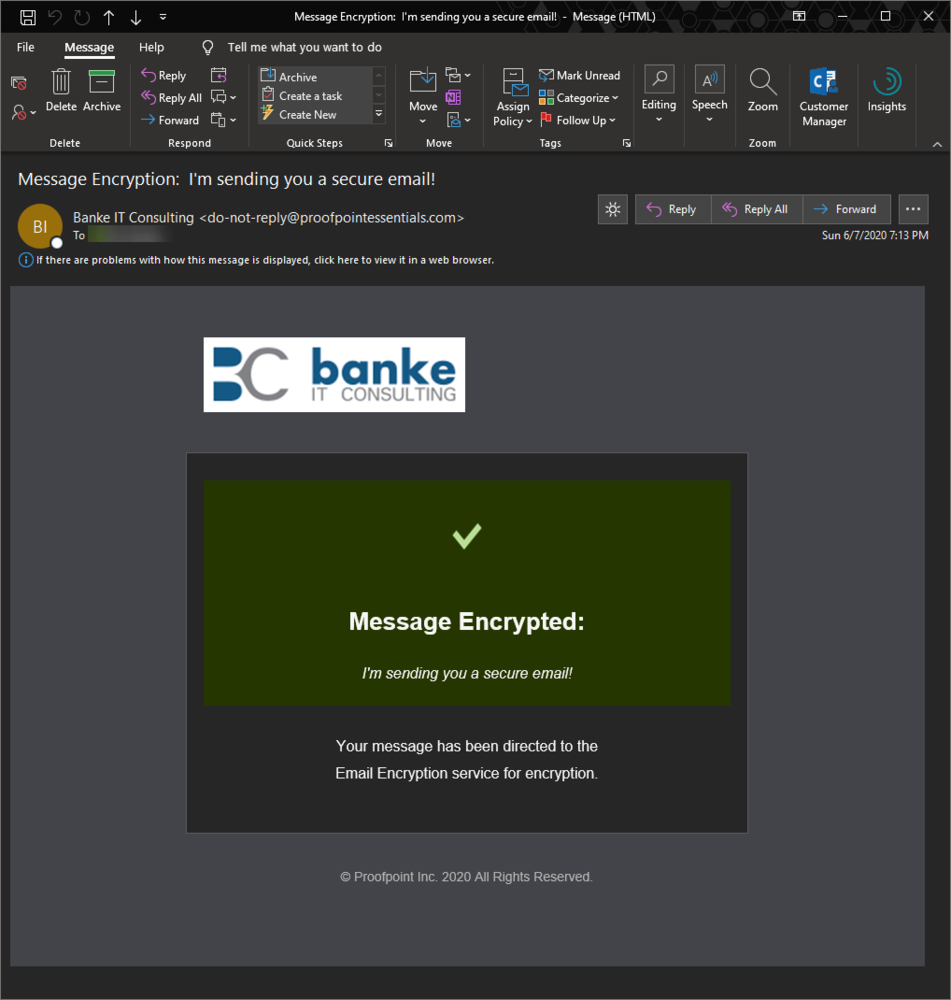
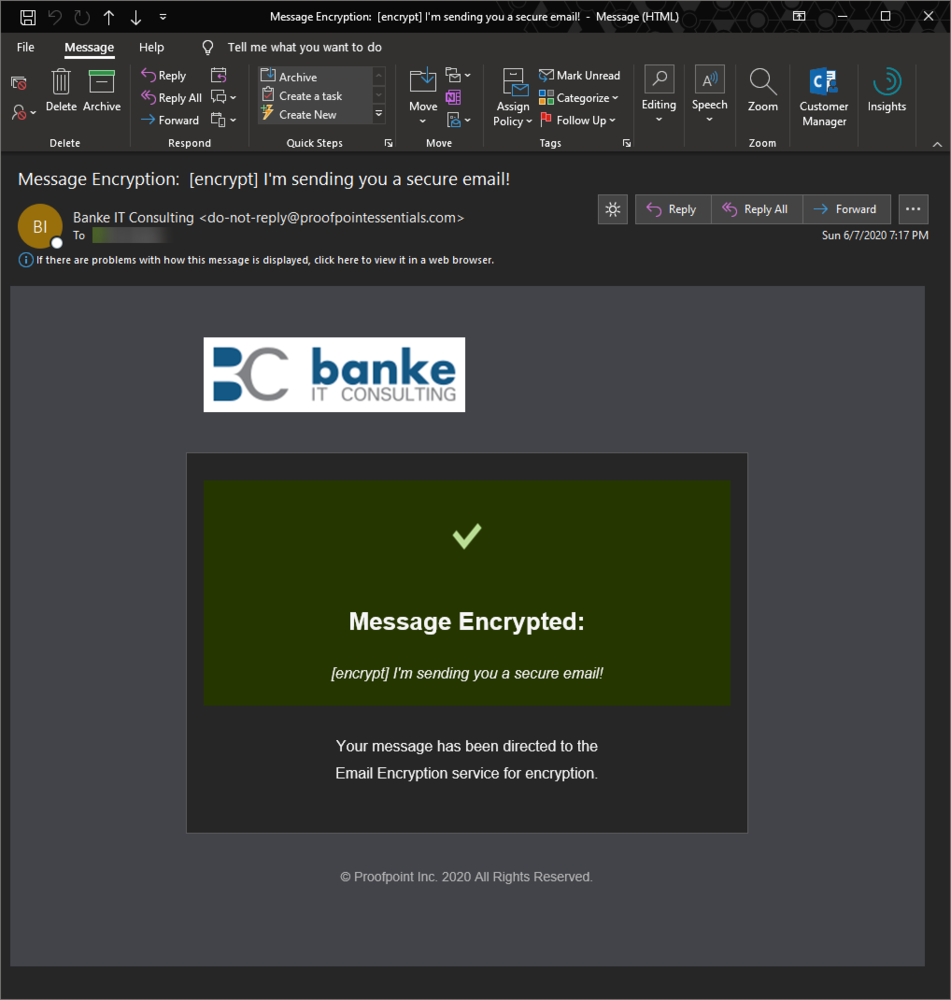
You will receive a confirmation that the message was encrypted and sent.
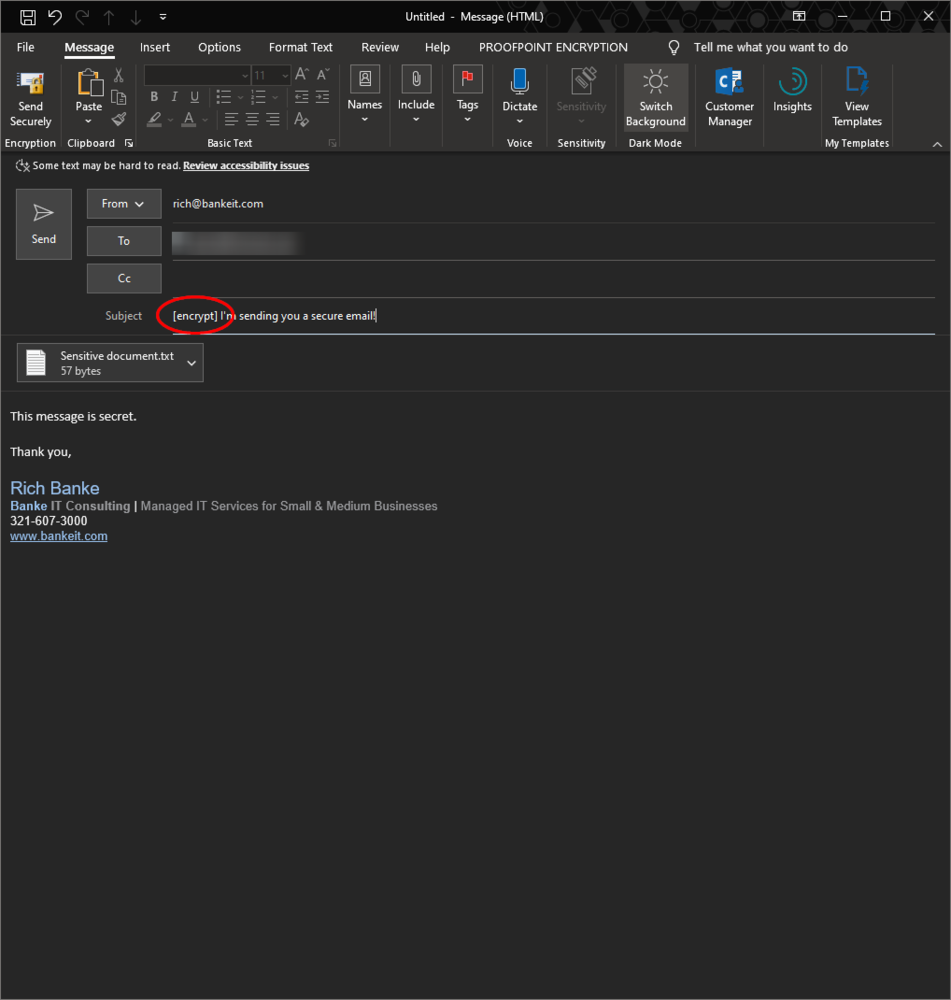
Encrypt your message using the subject line keyword
Create your email as you normally would. You can also attach files if you need. In your subject add the word encrypt in brackets like: [encrypt]. Send using the standard send button.
You will receive a confirmation that the message was encrypted and sent.
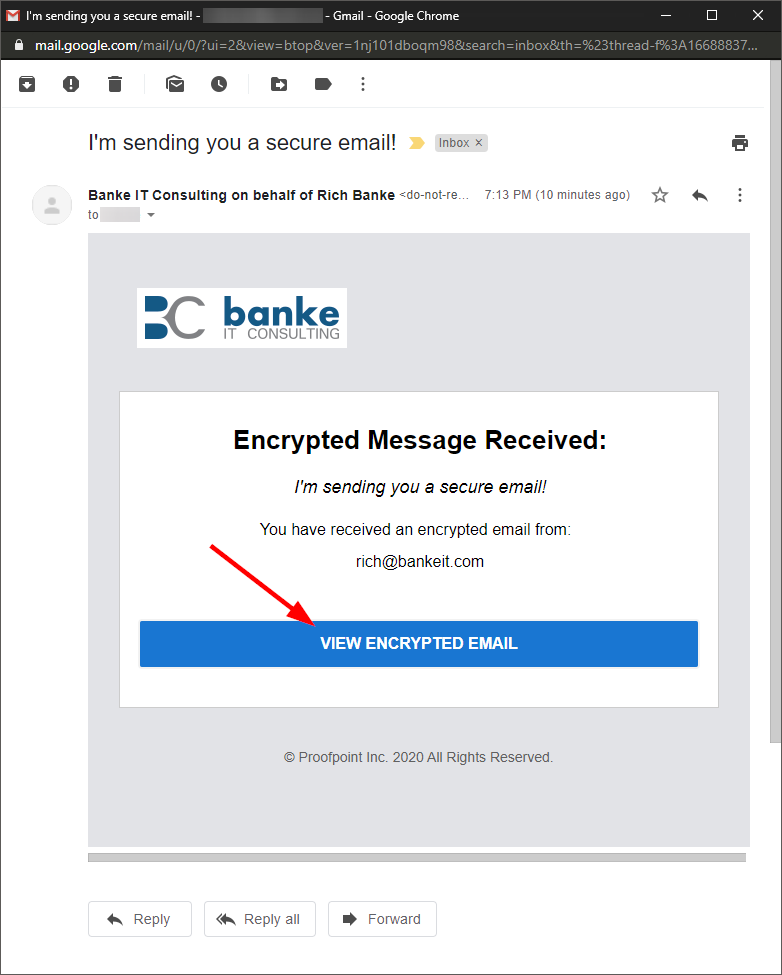
The recipient’s experience
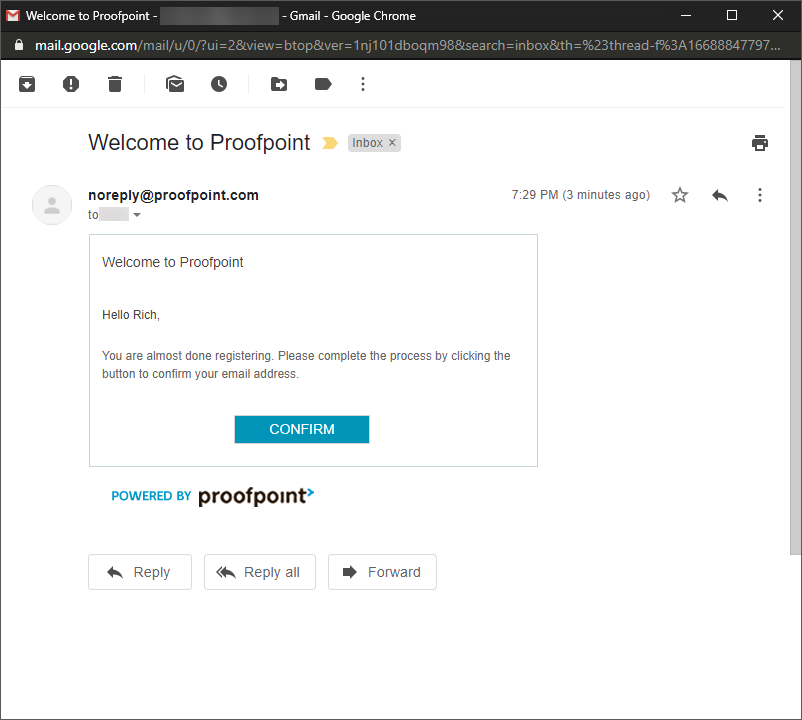
The user receives a notification email that they have an encrypted message waiting
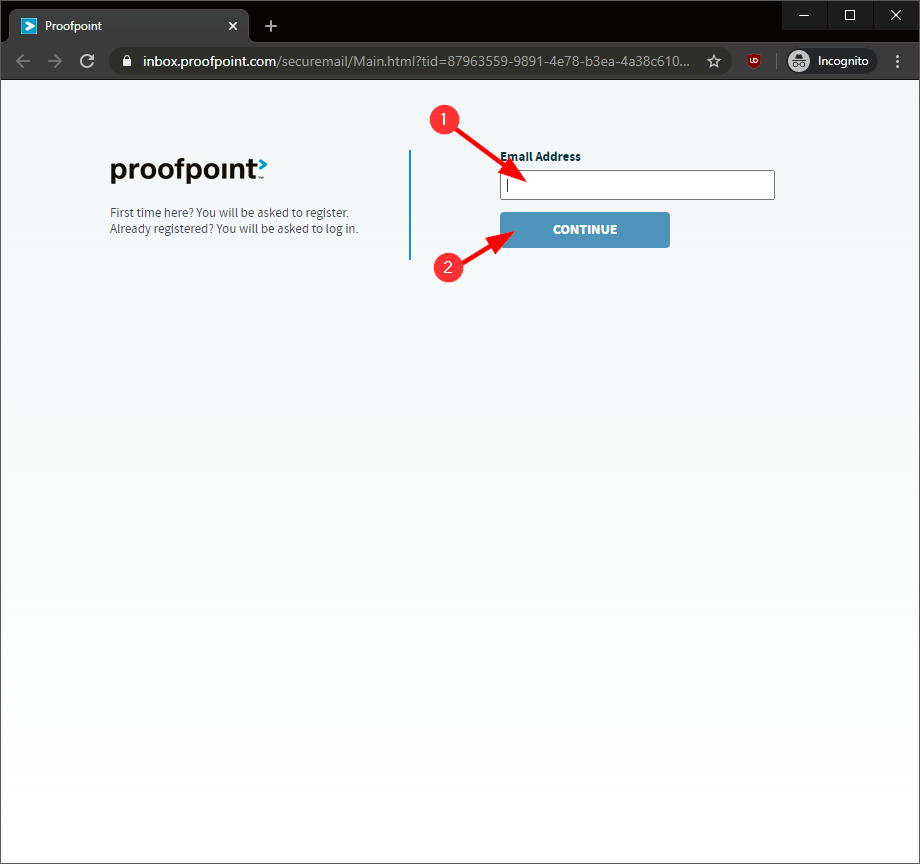
If they are new to the system, they will enter their email address and press continue.
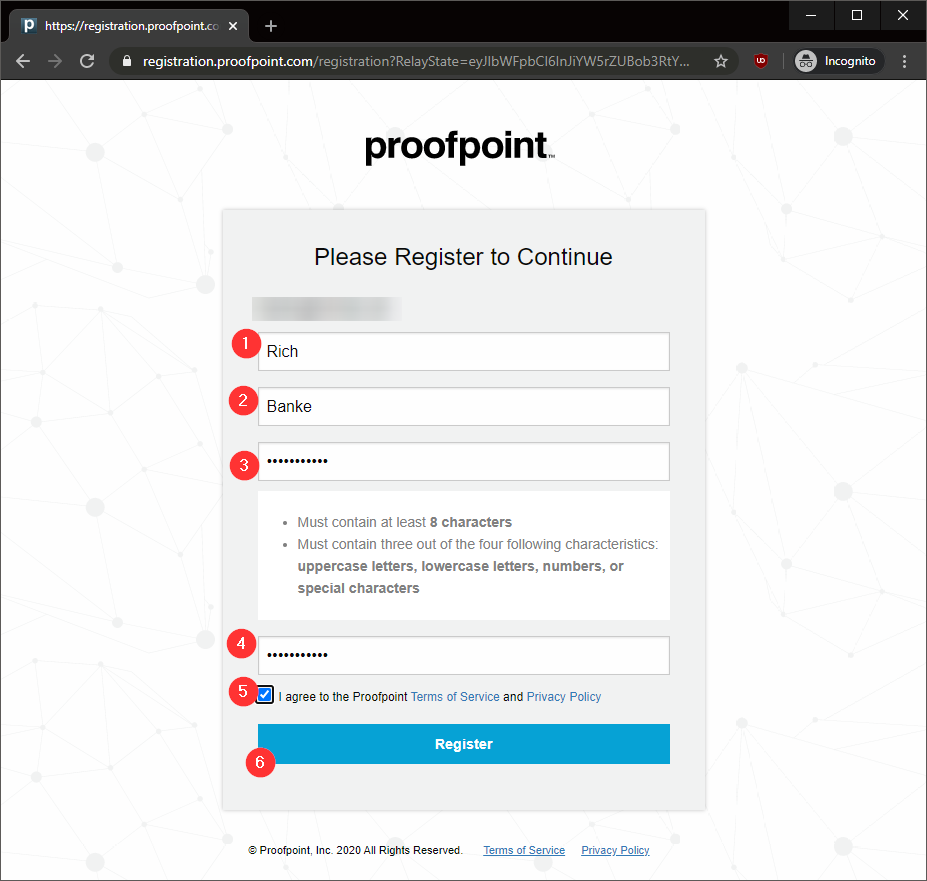
The user will enter their name, a password and agree to the terms of service and then click the ‘Register’ button.
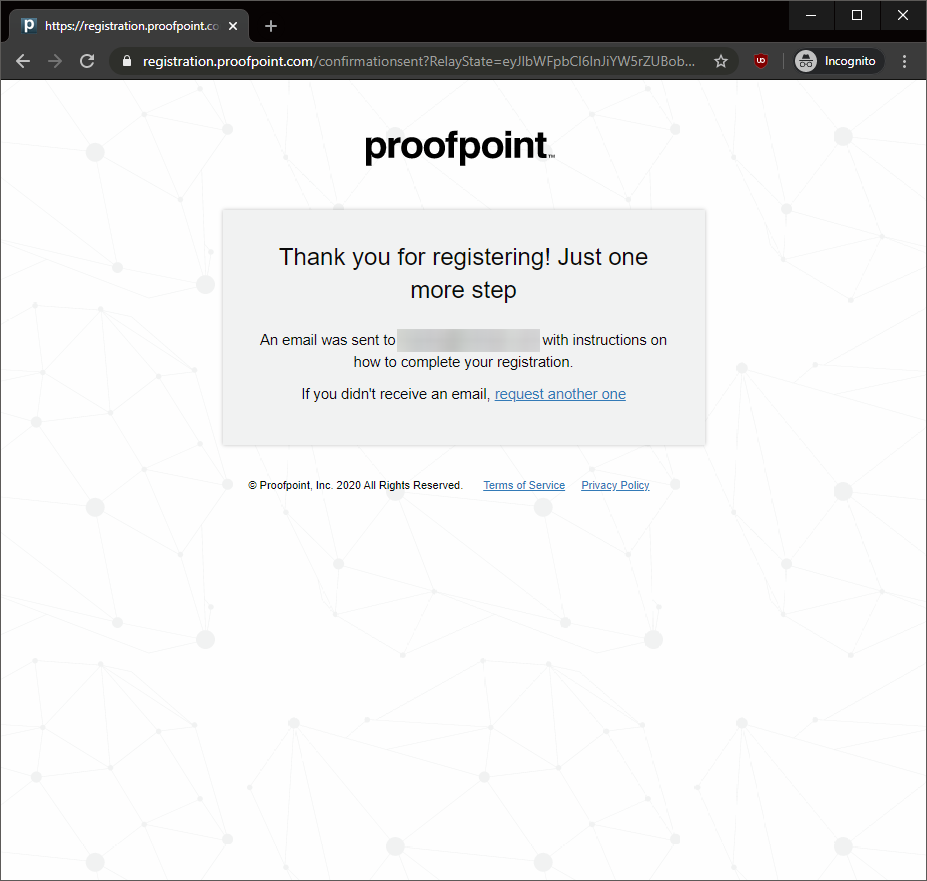
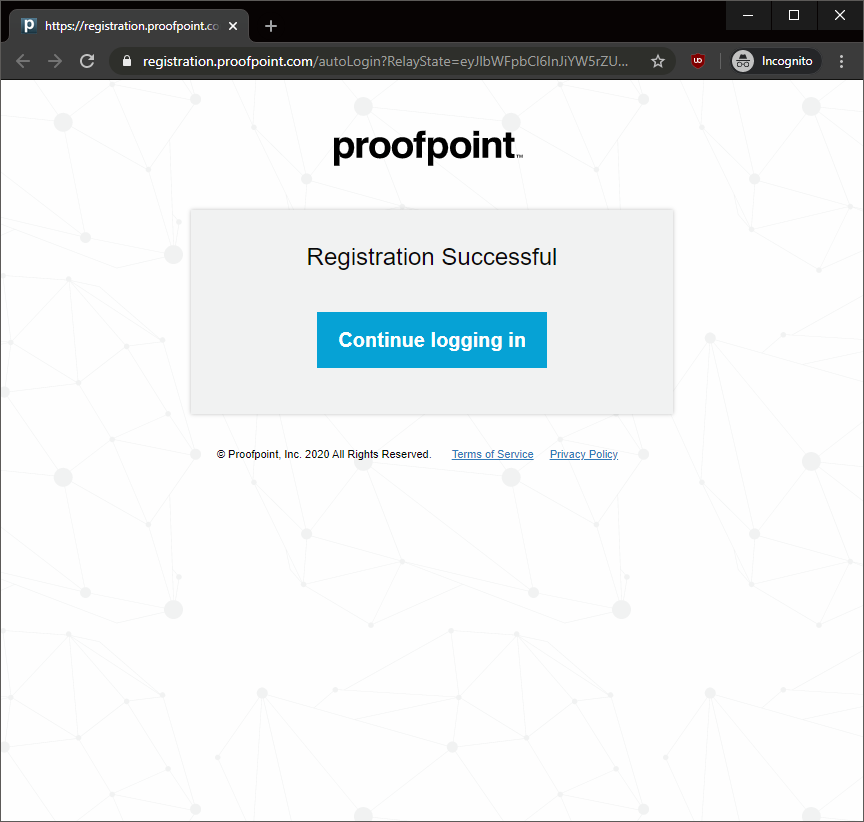
After clicking Register, they will be asked to confirm their email account. They will then be directed to the encrypted inbox.
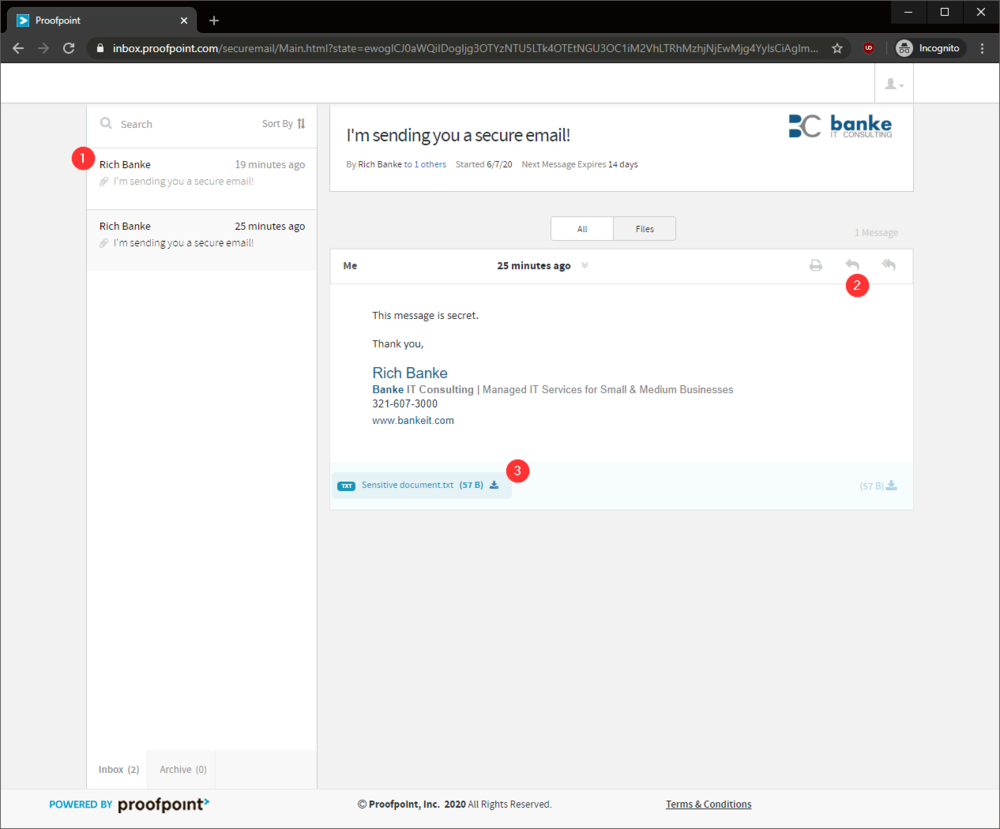
The encryption mail system works just like most other web based email.
- This is a list of messages
- They can print and reply to this message
- They can download and view any attachments.