This article will show you how you can use Microsoft Teams to create a presentation recording.
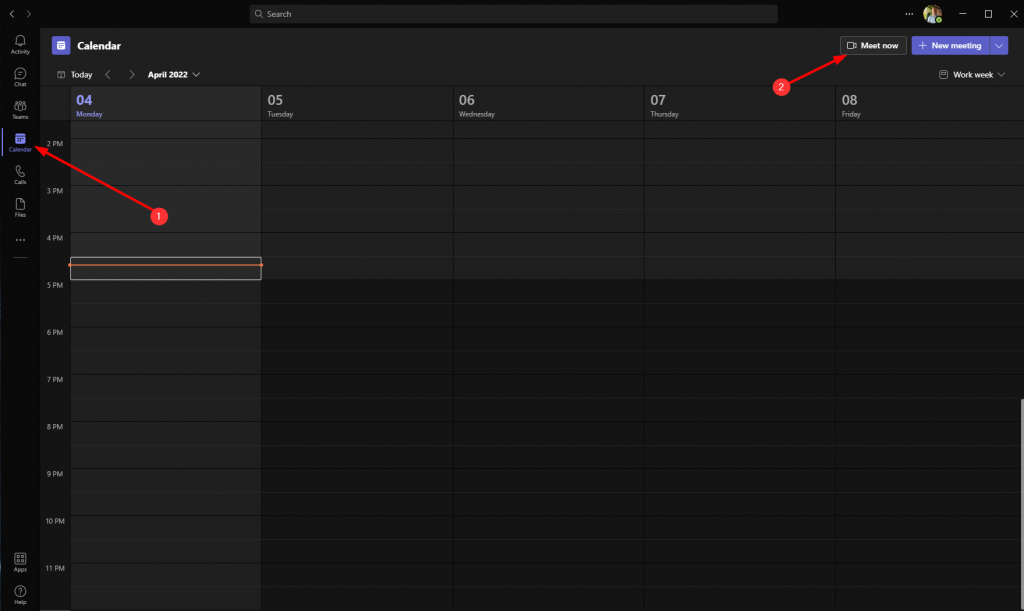
Open Teams and navigate to your Calendar (1) and press the Meet now (2) button
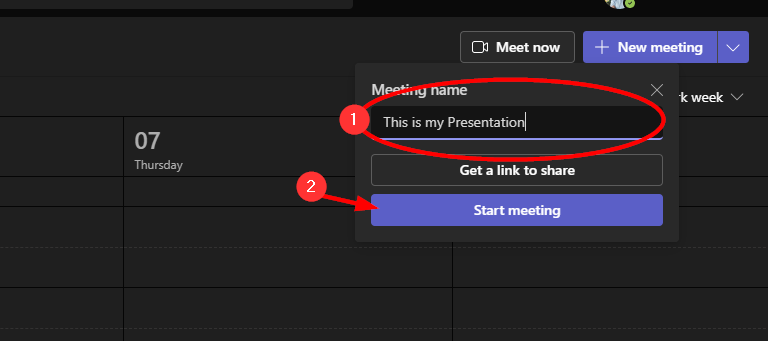
Enter the title of your recording (1) and press Start meeting (2)
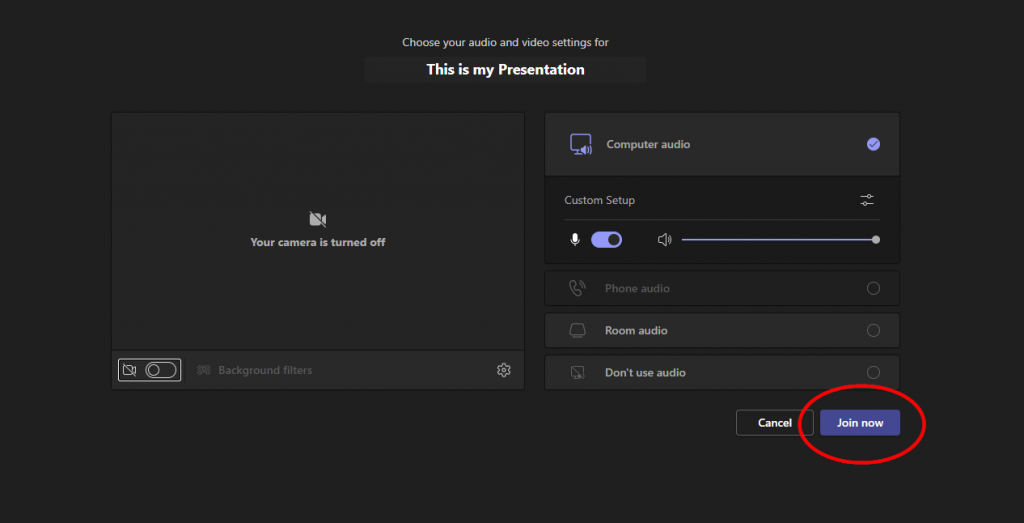
Adjust video and audio settings and press the Join now button
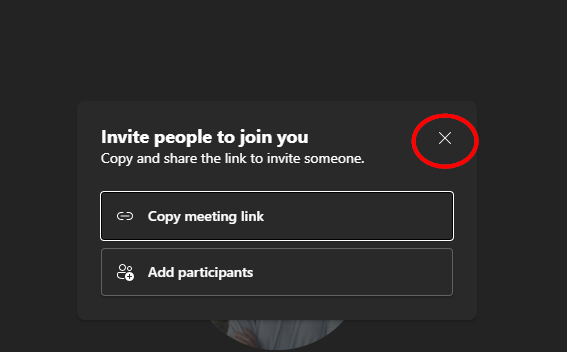
Press the X to close the invite window
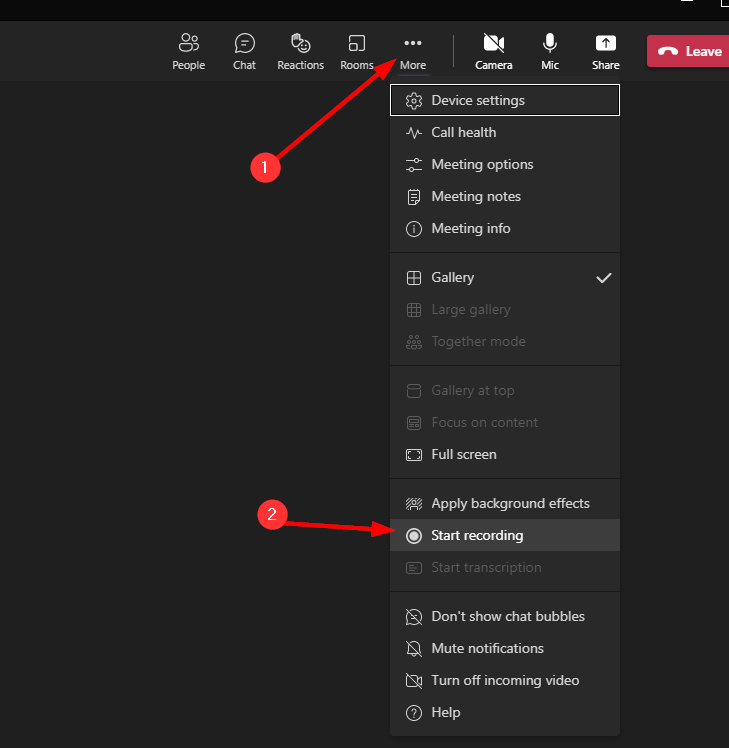
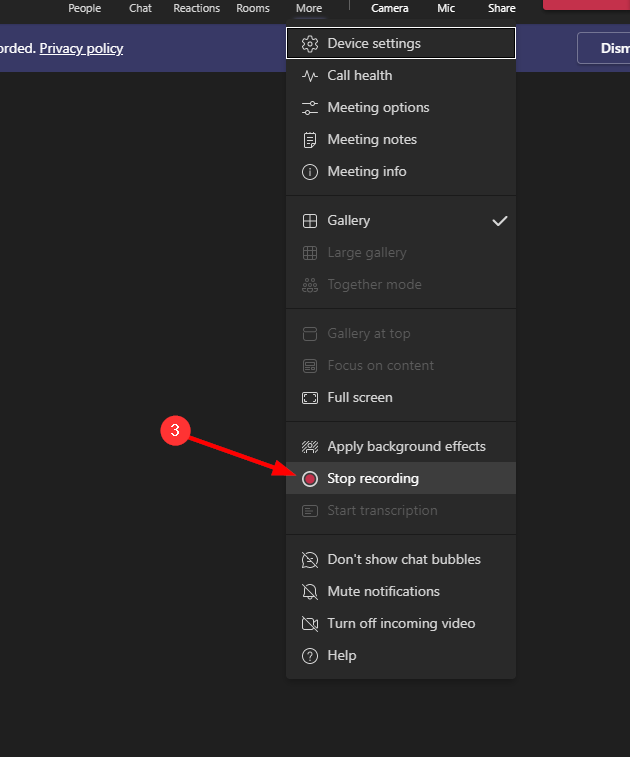
Click the … (1) menu and select Start recording (2) when ready and Stop recording (3) when finished
To find your recording you can navigate your OneDrive\Recordings folder or go to the Chat tab in Teams where you will see the presentation in your recent history. In the chat for your meeting press the … (1) and select Open (2) to open your recording in a web browser where you can Download (3) the recording
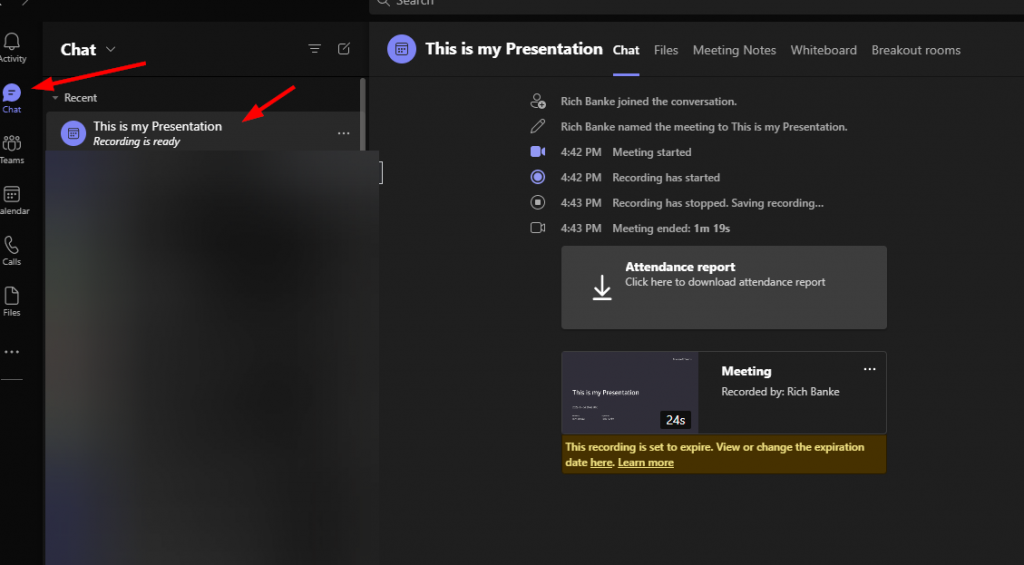

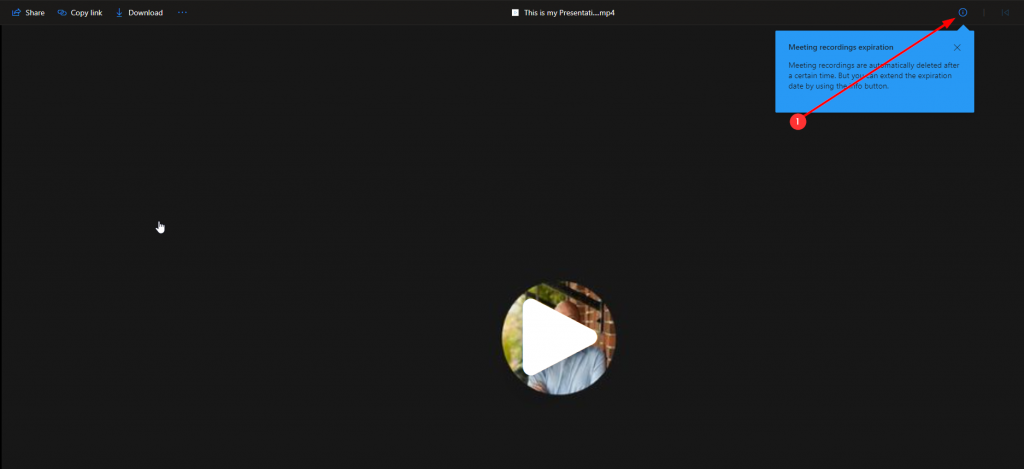
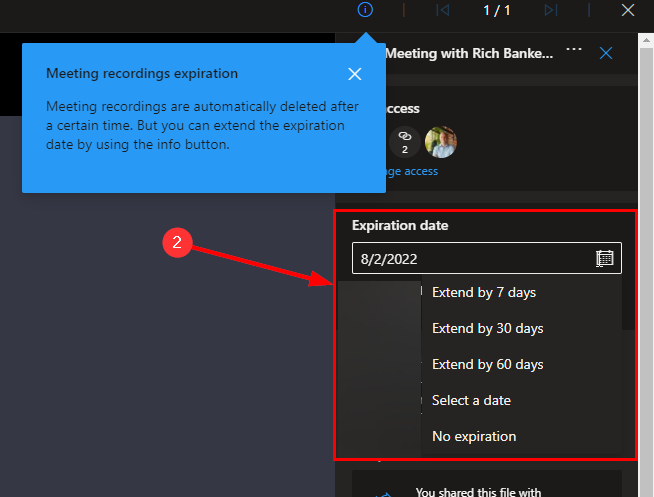
You can change the expiration by opening the video and clicking the i (1) button and then changing the expiration date to your preferred time or set it to not expire (2)