Office has built in resources for integrating physical rooms such as meeting rooms, auditoriums, etc. into Office. This is done using Room Mailboxes. A room mailbox is a resource mailbox that’s assigned to a physical location (a conference room, an auditorium, or a training room). With room mailboxes, users can easily reserve these rooms by including room mailboxes in their meeting requests. When they do this, the room mailbox uses options you can configure to decide whether the invite should be accepted or denied.
Using room and equipment mailboxes
To use room or equipment mailboxes, open Outlook from your computer or sign in to Outlook on the web. Schedule a new meeting and add the room or equipment to the meeting like you would when inviting other employees or customers. You’ve now reserved it.
- Open Outlook.
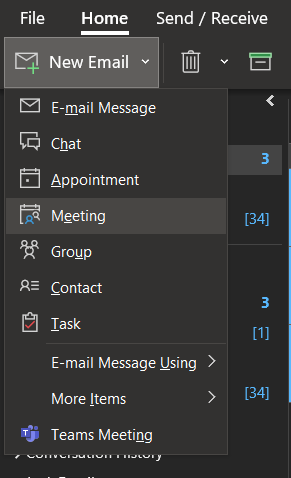
- On the “Home” tab, click the down arrow next to “New Email”, and choose “Meeting.”
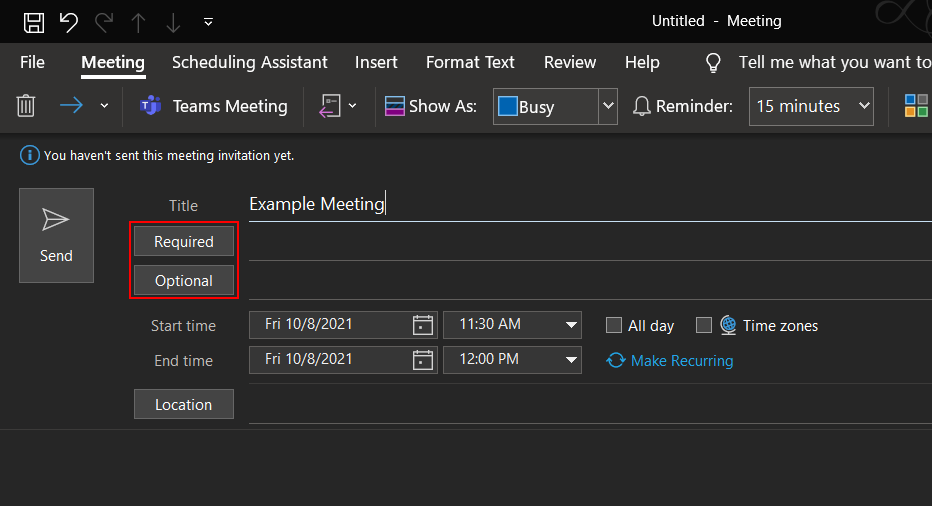
- Insert the title for your meeting and then click “Required”
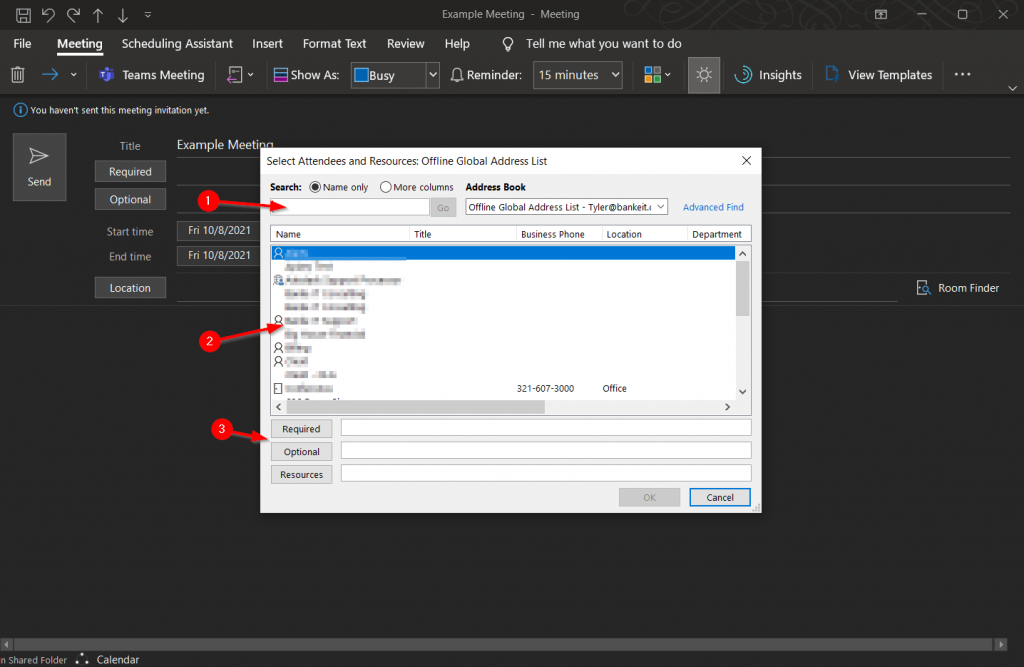
- You can (1) search for the names of rooms, people, and assets in the top box, or (2) you can find them in the list. Once you select a room, person, or asset, you can (3) click “Required,” “Optional,” or “Resource” respectively.
- If you select a room, it will automatically fill the “Location” with the room you chose. You can change this if need be.
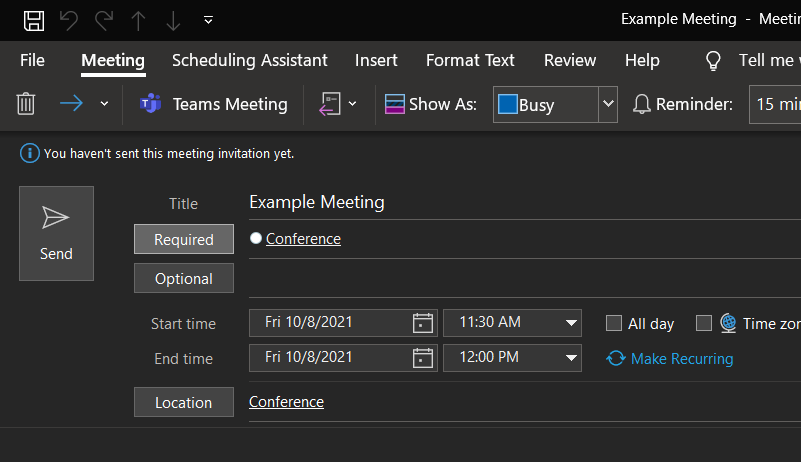
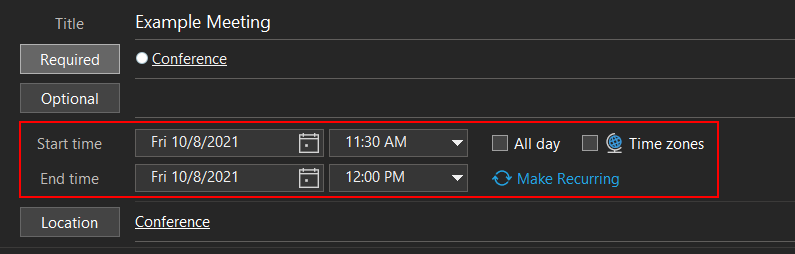
- Change the date, start time, and end time. If the meeting/reservation is an all day event you can check the “All Day” box. To make the meeting/reservation repeat, select “Make Recurring” on the right.
- Fill out the body with any necessary information, like you would an email.
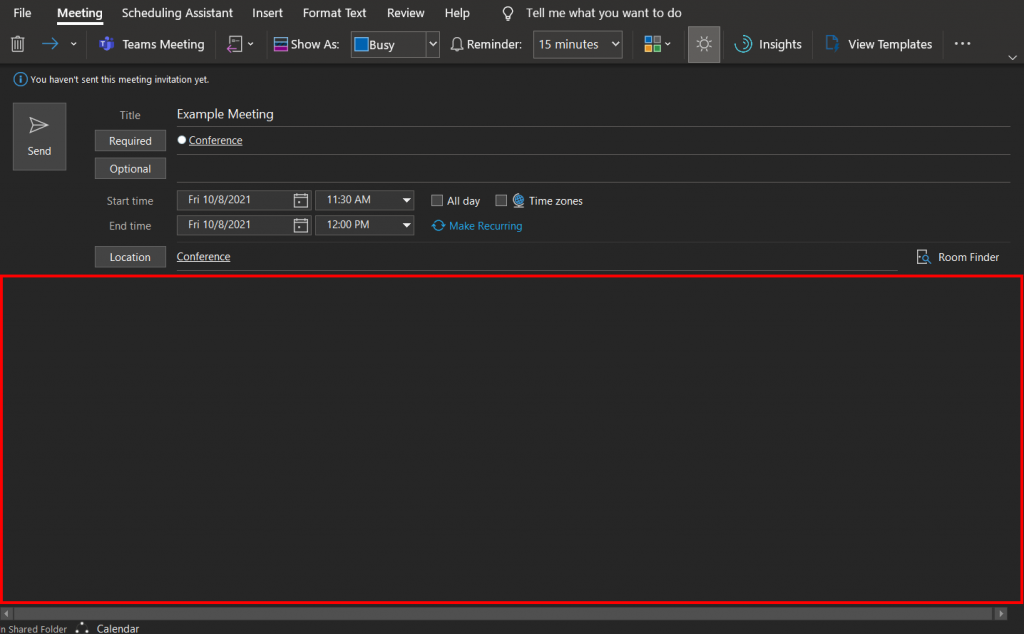
- When finished, click “Send.”
Scheduling Assistant and Room Finder
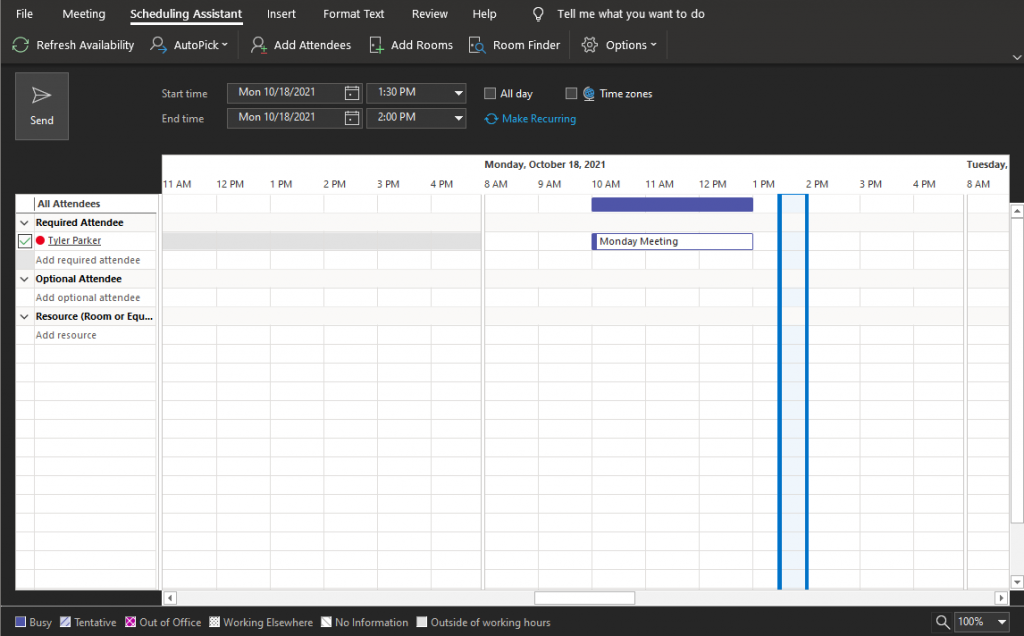
The Scheduling Assistant is a tool that can find an available room and available time for everyone and every asset you have chosen for the meeting. Room finder is an option that will automatically find an available room for you.
- To use Room Finder, just select the option to the right of the “Location” field.

- To use the Scheduling Assistant, click (1) the “Scheduling Assistant” tab at the top, then (2) select “AutoPick,” then (3) choose which option suits your needs best.

- The scheduling assistant can also show you what people and rooms are being occupied and when on the main page
How to view a Room’s Schedule
If you would like more detail on a Room’s schedule, you can add a calendar showing when it is occupied.
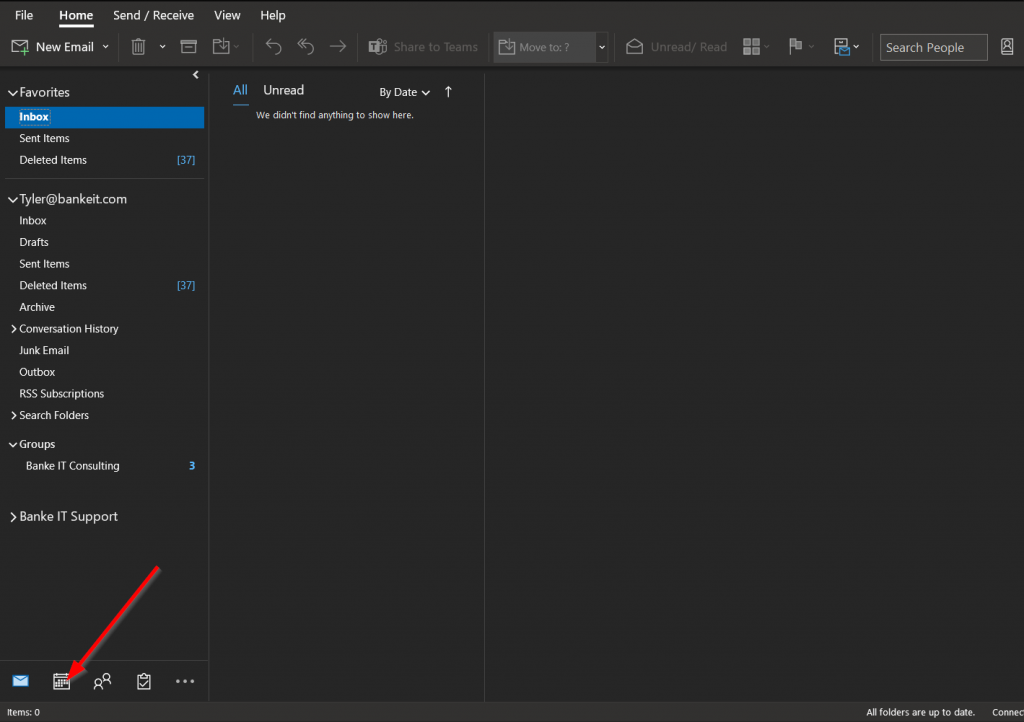
- Click the Calendar icon in the bottom left.
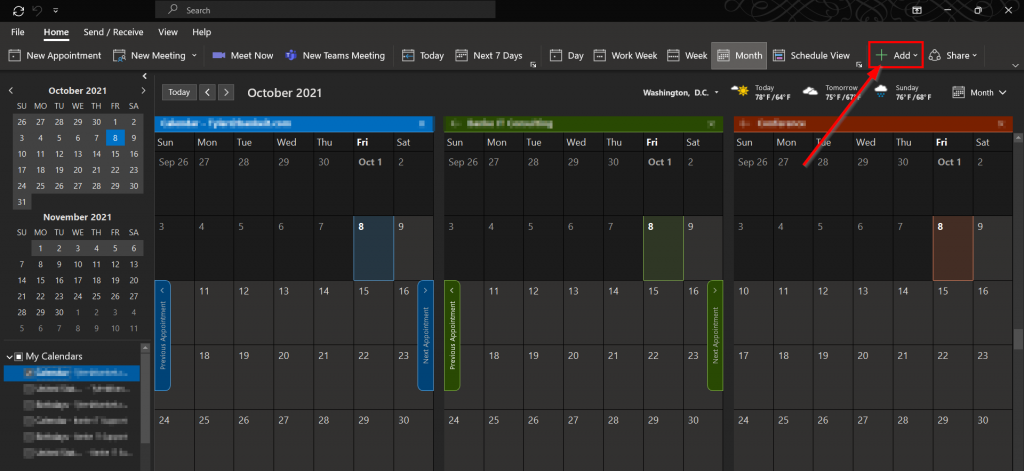
- Click “Add” in the top right.
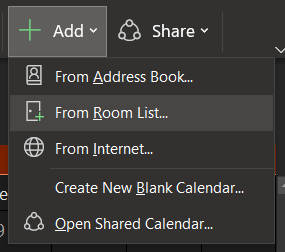
- Select ‘From Room List”
- Find the Room you want, double-click it and then select “Ok”
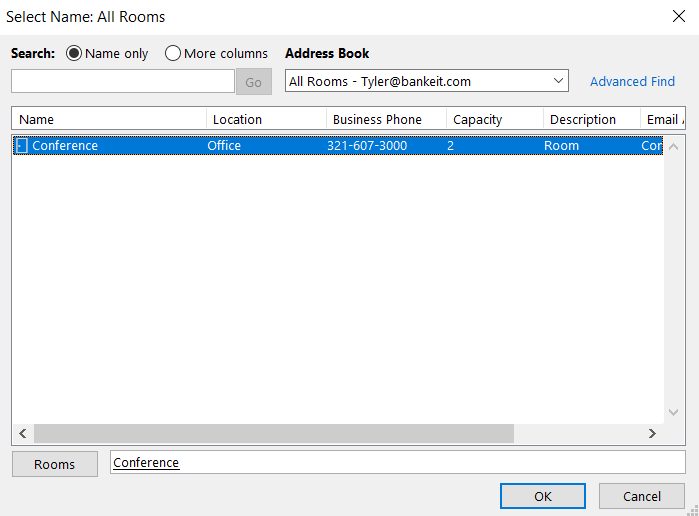
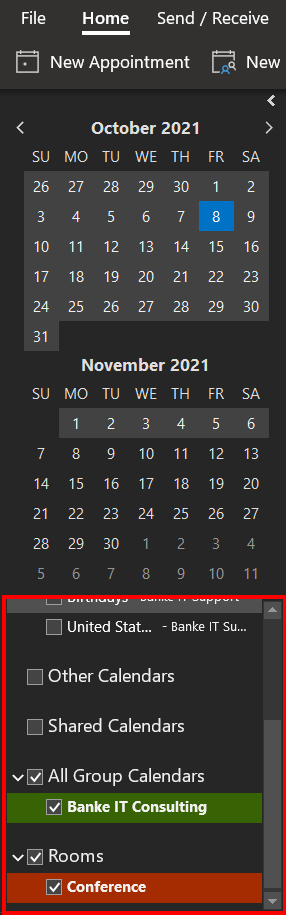
- The calendar for the room will now appear next to your other calendars, you can show/hide which calendars you wish to see on the left.