Contact groups are useful if you mail a specific group of people frequently, they make sure that no one is left out or forgotten. This guide will walk you through how to create and use contact groups.
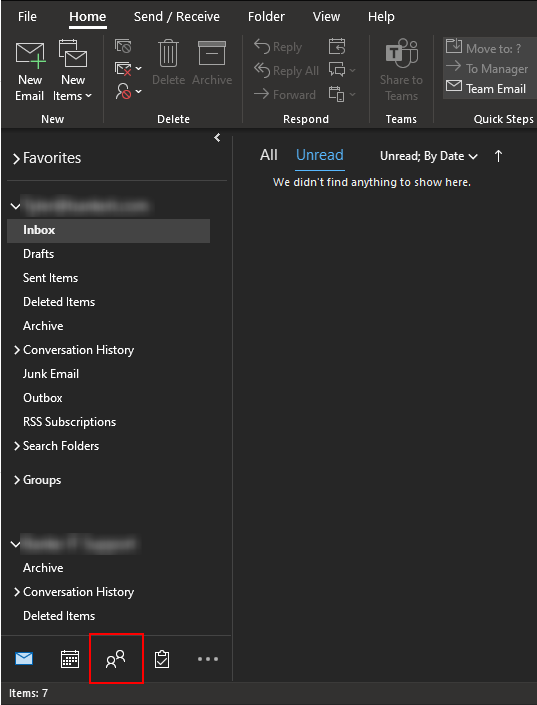
- In Outlook, in the bottom left click Contacts
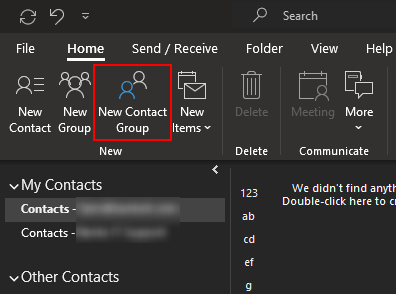
- At the top select “New Contact Group”
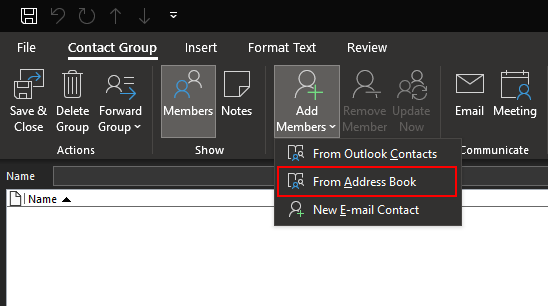
- (1) Type in the name for the group and then (2) click “Add Members”
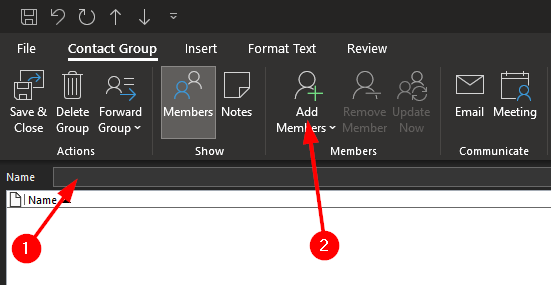
- Select “From Address Book”
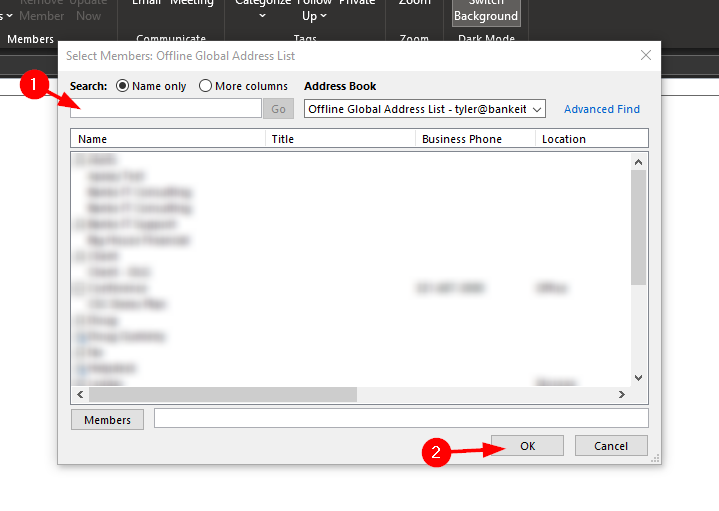
- (1) Search for the people you want in the group, and once you select everyone (2) click “Ok”
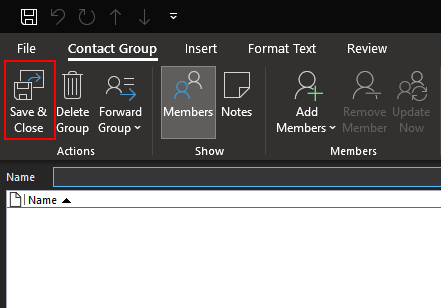
- Click “Save & Close”
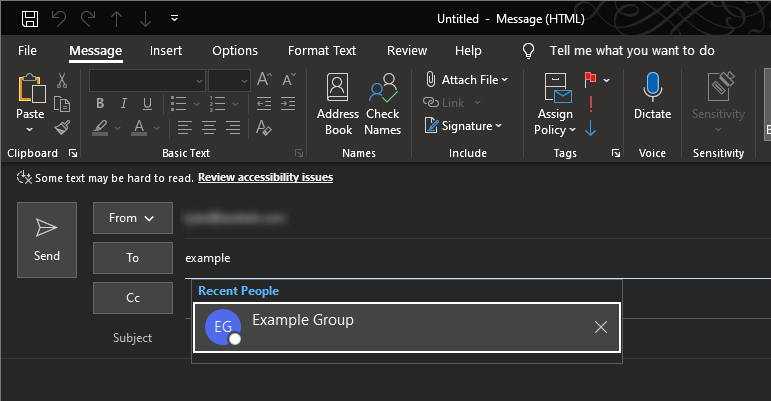
Mailing a Group
Once you make the group you can send an email just like you would to an individual person.
In a new email, in the “To” field, type the name of the group and select it.