This guide will go over how to add a signature to your emails in the Outlook Desktop App.
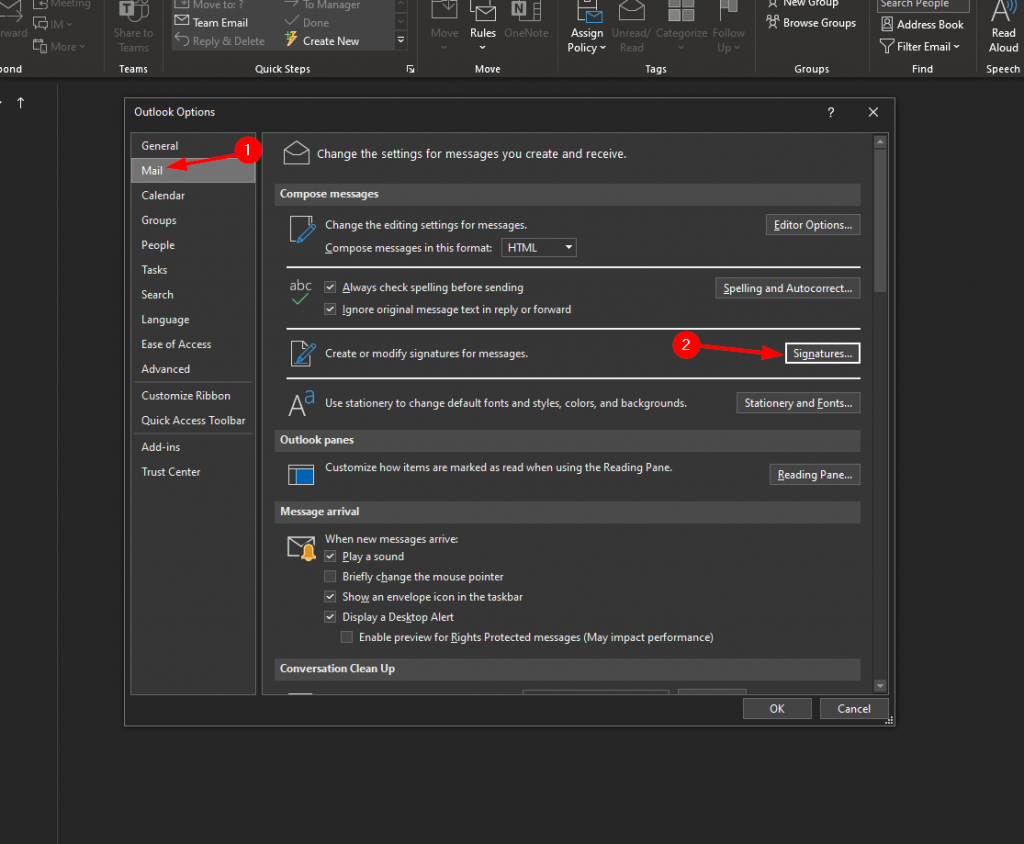
- In the top left click “File” and then in the bottom left click “Options”
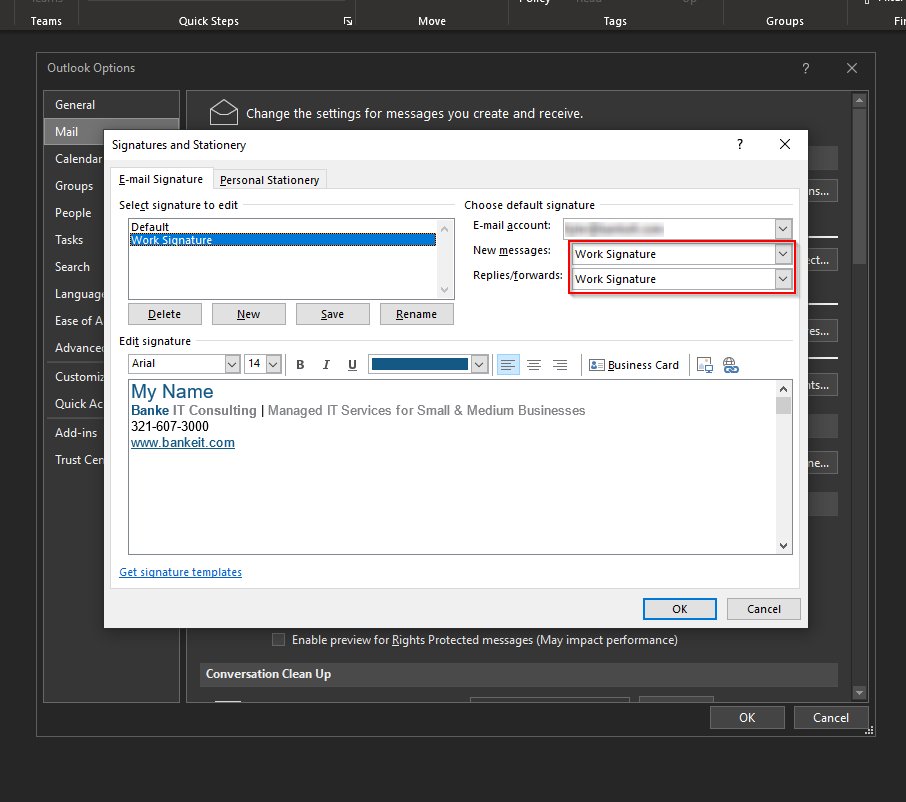
- Select (1) “Mail” and then (2) “Signatures”
- Click “New” and then name your signature and select “Ok”
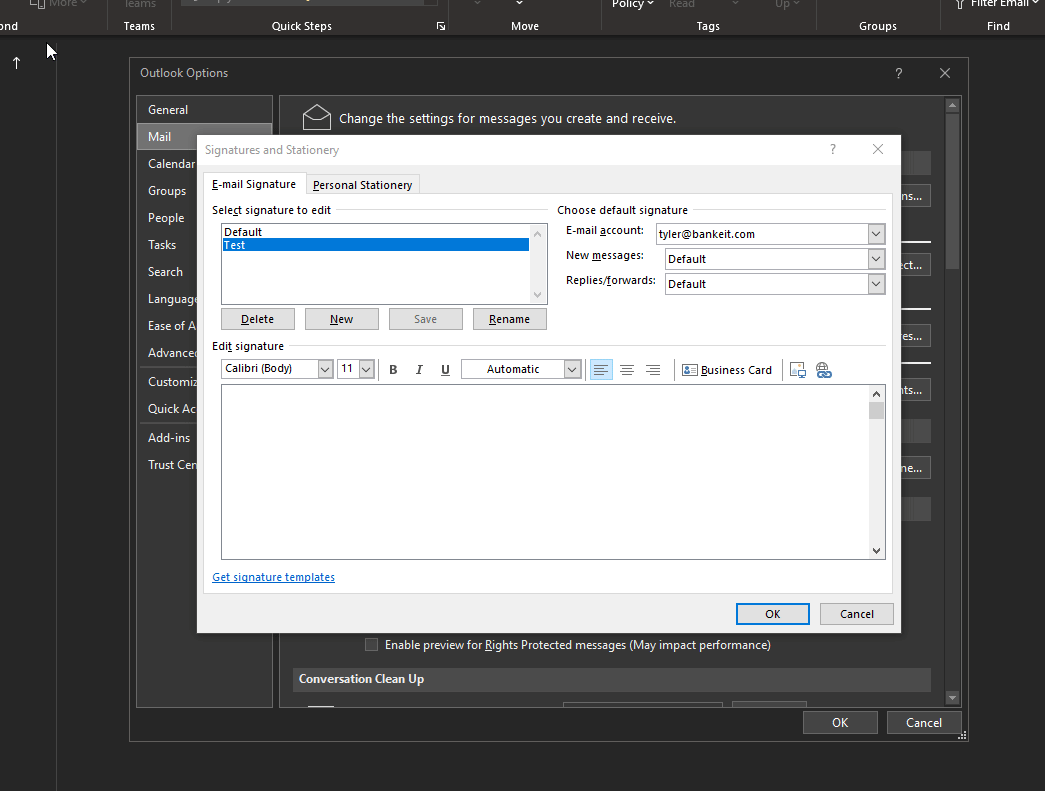
- Right Click in the large box and paste your company’s signature (Keep Formatting) and put your name in it
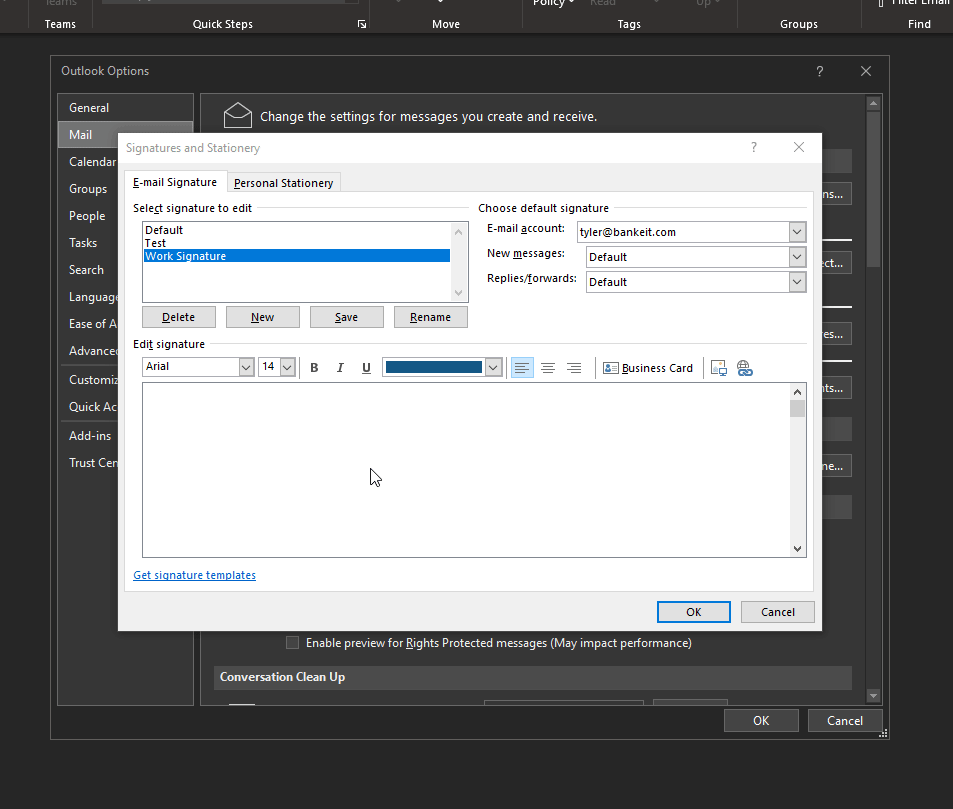
- Select when you want your signature to be applied to your emails